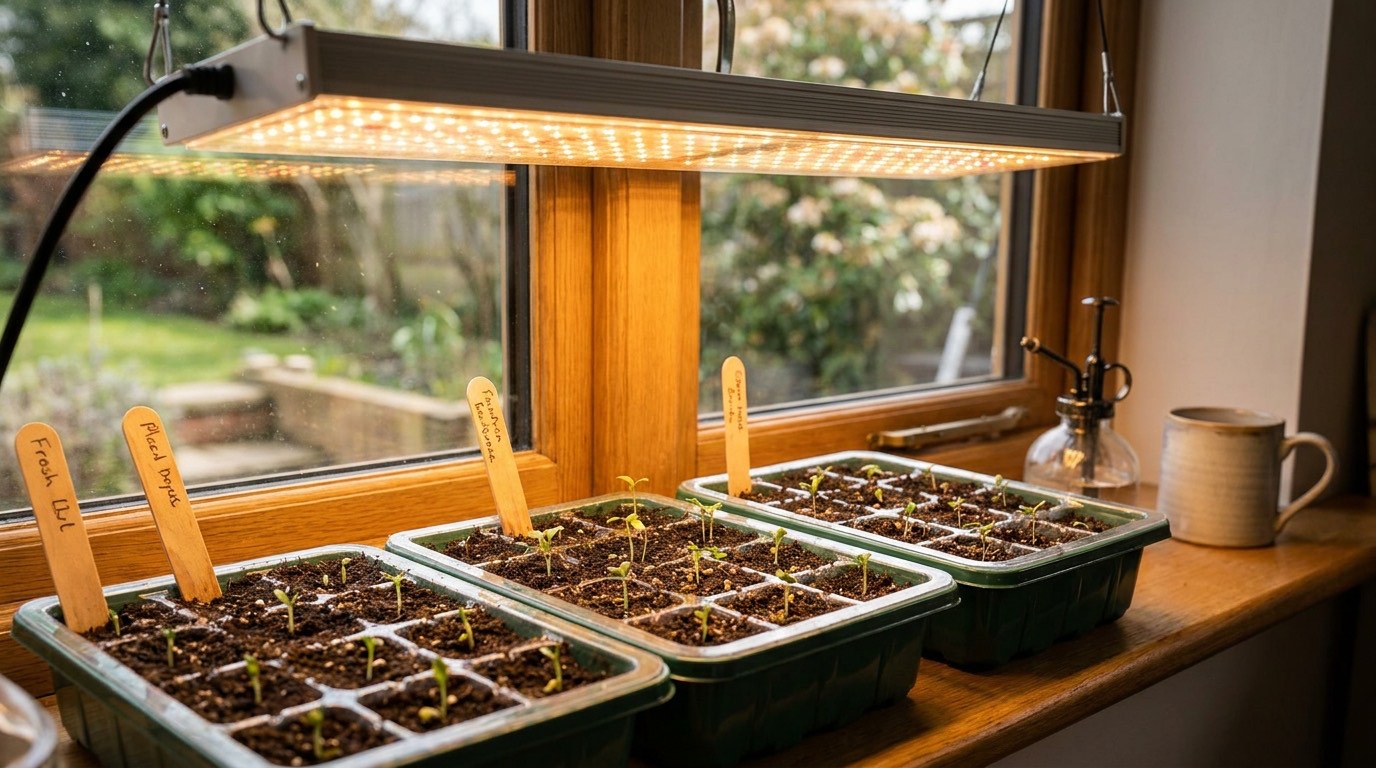
A packet of 50 tomato seeds costs about the same as one nursery seedling. That's the case for starting seeds indoors in a nutshell — it's cheaper, it opens up hundreds of varieties you'll never find as transplants, and it gives you a head start on the season. It also feels a little like magic the first time a seedling pushes up.
It's easier than most beginners expect. Here's everything you need, step by step.
The one date everything hangs on
Almost all indoor seed-starting is timed backward from your average last spring frost date. Find yours by ZIP code (it's on our When Can I Plant? tool), then count back the weeks each crop needs. Start too early and you'll have leggy, root-bound plants with nowhere to go; too late and you lose the head start.
What you actually need
Ignore the fancy kits at first. The essentials are cheap:
- Containers with drainage holes — cell trays, small pots, or even clean yogurt cups with holes poked in the bottom.
- Seed-starting mix — a light, sterile mix, not potting soil or garden dirt (both are too heavy and can harbor disease).
- Seeds, obviously — buy fresh from a reputable US seed company.
- A light source — this is the one thing worth investing in. A sunny south window can work, but an inexpensive LED grow light produces far sturdier seedlings. More on this below.
- A way to keep them warm — most seeds germinate best at 65–75°F. The top of the refrigerator or a seedling heat mat works.
Step 1: Sow the seeds
- Fill your containers with damp seed-starting mix and firm it gently.
- Check the seed packet for depth — a good rule is to plant seeds about twice as deep as they are wide. Tiny seeds barely get covered; large seeds go deeper.
- Sow two seeds per cell as insurance, and label everything. You will forget which is which.
- Mist or bottom-water so the surface is moist but not flooded.
- Cover with a clear lid or plastic wrap to hold humidity until seeds sprout, then remove it.
Step 2: Give them light — lots of it
This is where most beginners go wrong. Seedlings need intense, close light for 14–16 hours a day. A windowsill in winter almost never provides enough, and the result is "leggy" seedlings — tall, pale, and flopping over as they stretch toward the light.
- Keep a grow light just 2–3 inches above the seedlings and raise it as they grow.
- Run it on a timer for 14–16 hours a day.
- If you're relying on a window, rotate the tray daily and expect weaker plants.
Strong light from day one is the difference between stocky, healthy transplants and sad, stretched ones.
Step 3: Water from the bottom
Seedlings are fragile and prone to a fungal problem called damping off (they keel over at the soil line). To avoid it:
- Water from the bottom — set trays in a shallow tray of water and let the mix soak it up, then drain. This keeps the surface drier.
- Give good air circulation — a small fan on low prevents disease and, as a bonus, makes stems stronger.
- Keep the mix moist, never soggy.
Step 4: Thin and pot up
Once seedlings have their first true leaves (the second set — the first pair are "seed leaves"), snip off the weaker seedling in each cell at soil level, leaving the strongest. When roots fill the cell, pot the seedling up into a larger container so it never gets cramped.
Step 5: Harden off before planting out
You can't move a pampered indoor seedling straight into the wind and sun — it'll be shocked or scorched. About 7–10 days before transplanting, harden them off:
- Set the plants outside in a sheltered, shady spot for an hour or two the first day.
- Add a little more time and sun each day.
- By the end of the week they can handle a full day outside.
Then transplant into the garden after your last frost has passed, on a cloudy day or in the evening if you can.
Seed-starting in six points
- Time it backward from your last frost date — check the packet for weeks needed.
- Use seed-starting mix, not potting soil or garden dirt.
- Bright light, close and long — a grow light beats a windowsill every time.
- Bottom-water and add airflow to prevent damping off.
- Thin to the strongest seedling per cell.
- Harden off over a week before planting out.
What's easy to start (and what to skip)
Great for beginners: tomatoes, peppers, basil, marigolds, zinnias, lettuce, kale, broccoli.
Skip indoor-starting for now — these prefer to be sown straight into the garden: carrots, beans, peas, radishes, squash, and most root crops resent transplanting.
Frequently Asked Questions
When should I start seeds indoors?
Most seeds are started 6 to 8 weeks before your average last spring frost. Look up your last-frost date by ZIP code, then count back the weeks each crop needs (it's on the seed packet).
Why are my seedlings tall and leggy?
Leggy, stretched seedlings almost always mean not enough light. Keep a grow light just 2 to 3 inches above them for 14 to 16 hours a day — a winter windowsill usually isn't bright enough.
Do I need a grow light to start seeds indoors?
A very bright south-facing window can work, but a simple LED grow light produces far sturdier seedlings and is the single best investment for indoor seed starting.